¶ Tutorial #6 - CSS Injection
This tutorial explains how to build an application that injects CSS into other applications, then how to add custom overlays. CSS injection can be used for styling applications, but also for whitelabelling applications, such as replacing the Saito Logo with your own logo when rolling out custom/modified applications.
We assume by now that you can create a module directory. We navigate into the /mods directory and create a folder with the name tutorial06. That directory should contain a file tutorial06.js that contains the standard constructor. Note the existence of a CSS file in the
var ModTemplate = require('../../lib/templates/modtemplate');
const CssInjection = require('./lib/css.template');

const SaitoOverlay = require('./../../lib/saito/ui/saito-overlay/saito-overlay');
const myOverlay = require('./lib/myOverlay.template');

class Tutorial06 extends ModTemplate {

  constructor(app, mod) {

    super(app);

    this.name            = "Tutorial06";
    this.slug            = "tutorial06";
    this.description     = "CSS Injection";
    this.categories      = 'Dev';

    this.injected_yet    = false;

    this.app = app;
    this.mod = mod;
    this.overlay = new SaitoOverlay(app, mod);

    return this;
  }


module.exports = Tutorial06;
¶ Insert CSS on Initialization
  initialize(app) {

    let style = document.createElement('style');
    style.textContent = CssInjection();
    document.head.appendChild(style);

  }
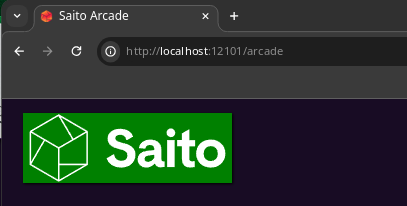
Navigate into the /lib/css.template.js file to see how we've structured a function that returns the CSS we wish to inject. For simplicity, the only change is to make green the background of the Saito logo that appears in the header of applications such as Red Square or The Arcade.

Compile and install this application and navigate to your Red Square or Arcade - if everything was done correctly it should appear similarly to the screenshot above. If you want your module to also be able to monitor and modify the DOM, try adding a listener on document.body on load and modifying content as needed when the site changes.
¶ Rendering an Overlay
The following code will render an overlay when the Saito client launches.
initialize(app) {

    // CSS Injection
    let style = document.createElement('style');
    style.textContent = CssInjection();
    document.head.appendChild(style);

    // Application Overlay
    this.overlay.show(MyOverlayTemplate(this.app, this.mod));

  }
The final line added to initialize uses the overlay file from our module, located at /lib/myOverlay.template.js, as an input to this.overlay.show. Both of these dependencies were brought in at the top of our tutorial06.js:
const SaitoOverlay = require('./../../lib/saito/ui/saito-overlay/saito-overlay');
const myOverlay = require('./lib/myOverlay.template');
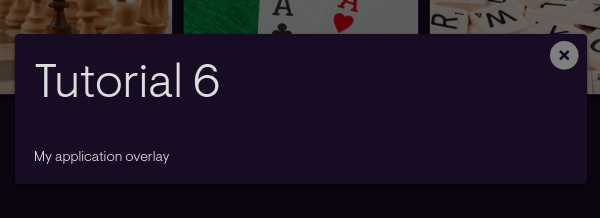
Be sure to observe those files and their structure in the existing code to see exactly how to recreate this functionality. If all goes well, you should see something similar to below when launching your Saito client:

After running this.overlay.show(), devs can leverage:
this.overlay.hide()this.overlay.close()
to hide and close overlays at any point.
¶ Reference Materials
- The complete
tutorial06code can be referenced here.