¶ Tutorial #1 - Hello World
Our first application alerts the user when they start-up Saito. It also renders a very simple message to the user when they visit the application in their browser. Our goal in this tutorial is to learn how to build and compile very simple applications.
¶ Creating Module Directory
Navigate into your saito-lite-rust/mods/ directory and create a folder with the name tutorial01. Within that directory create the file tutorial01.js, and copy the text below into the file:
var ModTemplate = require('../../lib/templates/modtemplate');

class Tutorial01 extends ModTemplate {

  constructor(app) {

    super(app);

    this.name            = "Tutorial01";
    this.slug            = "tutorial01";
    this.description     = "Introductory tutorial for Saito App Development";

    return this;

  }

}

module.exports = Tutorial01;
As you can see, Saito modules extend from the ModTemplate class. This parent class provides the default set of functions that trigger whenever specific actions happen, such as when a new block is received or a transaction arrives that may require processing.
This gives your Saito applications some basic functionality and integration out of the box. We'll learn how we can override those functions to suit the needs of your applications.
You can see a full list of all the functions by checking the class documentation on Github.
¶ Initializing and Rendering
In order to get our module to run code on startup we need to override the initialize(app) function. A good habit is to pass control to the ModTemplate class by running super.initialize(app) before we add our own custom logic. Our own code just checks to see if we are running in a browser and pops up an alert() message if so.
  async initialize(app) {
    super.initialize(app);
    if (app.BROWSER) { alert("Hello World!");  }
  }
The second function we are going to override is the render(app) function. This runs whenever the user wants to view our application in their browser. As you can see, it simply writes a short text message into the BODY of the default application page.
  async render() {
    super.render();
    if (document.querySelector(body)) {
       document.querySelector(body).innerHTML = "Hello World";
    }
  }
Add these functions to the body of your Tutorial01 class, not to the end of the file. Your file should look like like this.
¶ Compiling and Serving
Your application won't be compiled until the compile configuration lists it.
Open the file /saito-lite-rust/config/modules.config.js. This file contains two lists of modules. The first list is in the core section -- it lists the modules that will run on your server. The second is in the lite section -- it lists the modules that your server will compile for any lite-clients that connect to it and ask for the default set of applications.
This module has no full-node functionality, so there is no reason to add this module to your core list. Add it to the list of modules in the lite section that will be compiled and provided to browser lite nodes.
lite: [
    'tutorial01/tutorial01.js',
Then navigate to /saito-lite-rust and compile the javascript bundle:
> npm run nuke
If this is not your first time compiling the software you can run npm run compile instead. If you run into trouble we have more detailed instructions on how to compile applications right here. Once your application compiles, start Saito by running:
> npm start
¶ Using Your Application
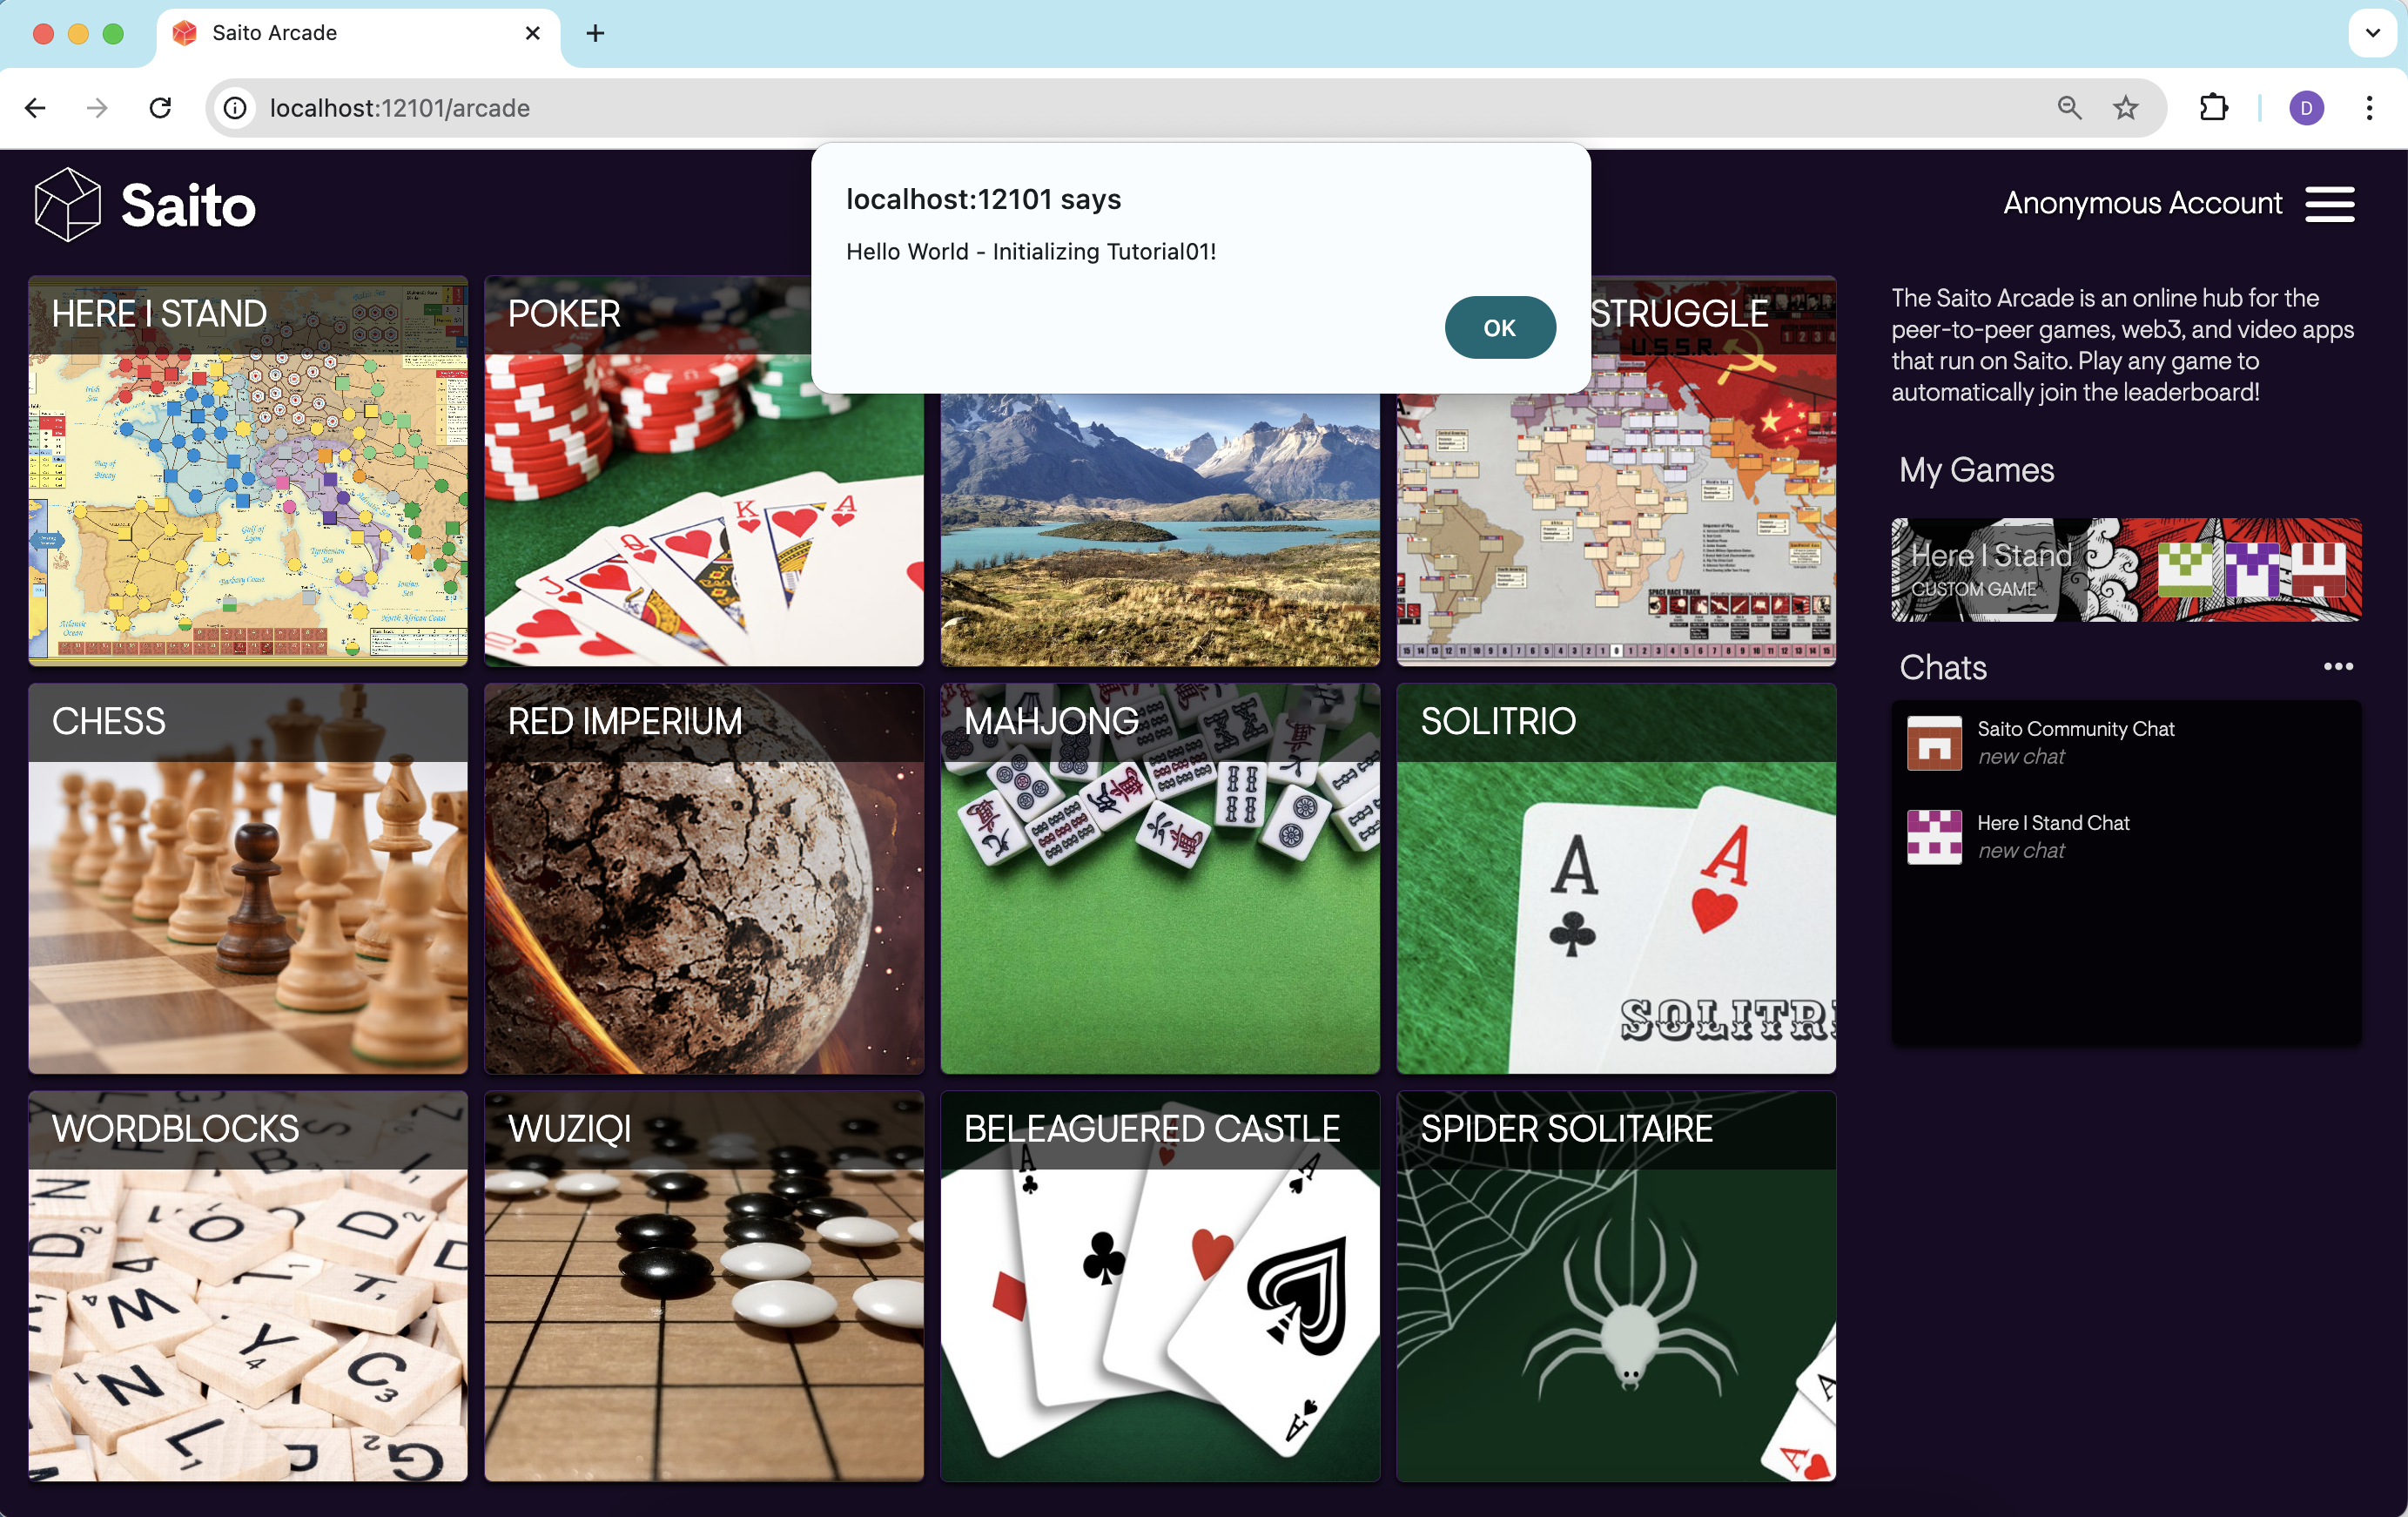
Start up your local node and navigate to any application. As your browser initializes you will see an alert() message popup regardless of which application you are viewing. This is because the code in initialize(app) runs each time the client starts running Saito. Here is what it looks like on the Arcade:

To trigger our code in the render() function, we need to tell Saito to run the render function in our new module. We do this by pointing our browser to the /tutorial01 application. You'll see that your module is grabbing the default HTML and replacing it with its own message as below:

¶ Reference Materials
- The complete
tutorial01code can be referenced here.
You can also find the complete source code associated with this tutorial in the default /mods directory. Alternately, you can access all of the files in this tutorial by downloading this ZIP file. Or just download this application as a precompiled Saito module and install it into your wallet.
Move on to Tutorial 2 - Transactions and UI Components